Directional Boring Project: Step-by-Step Client Guide
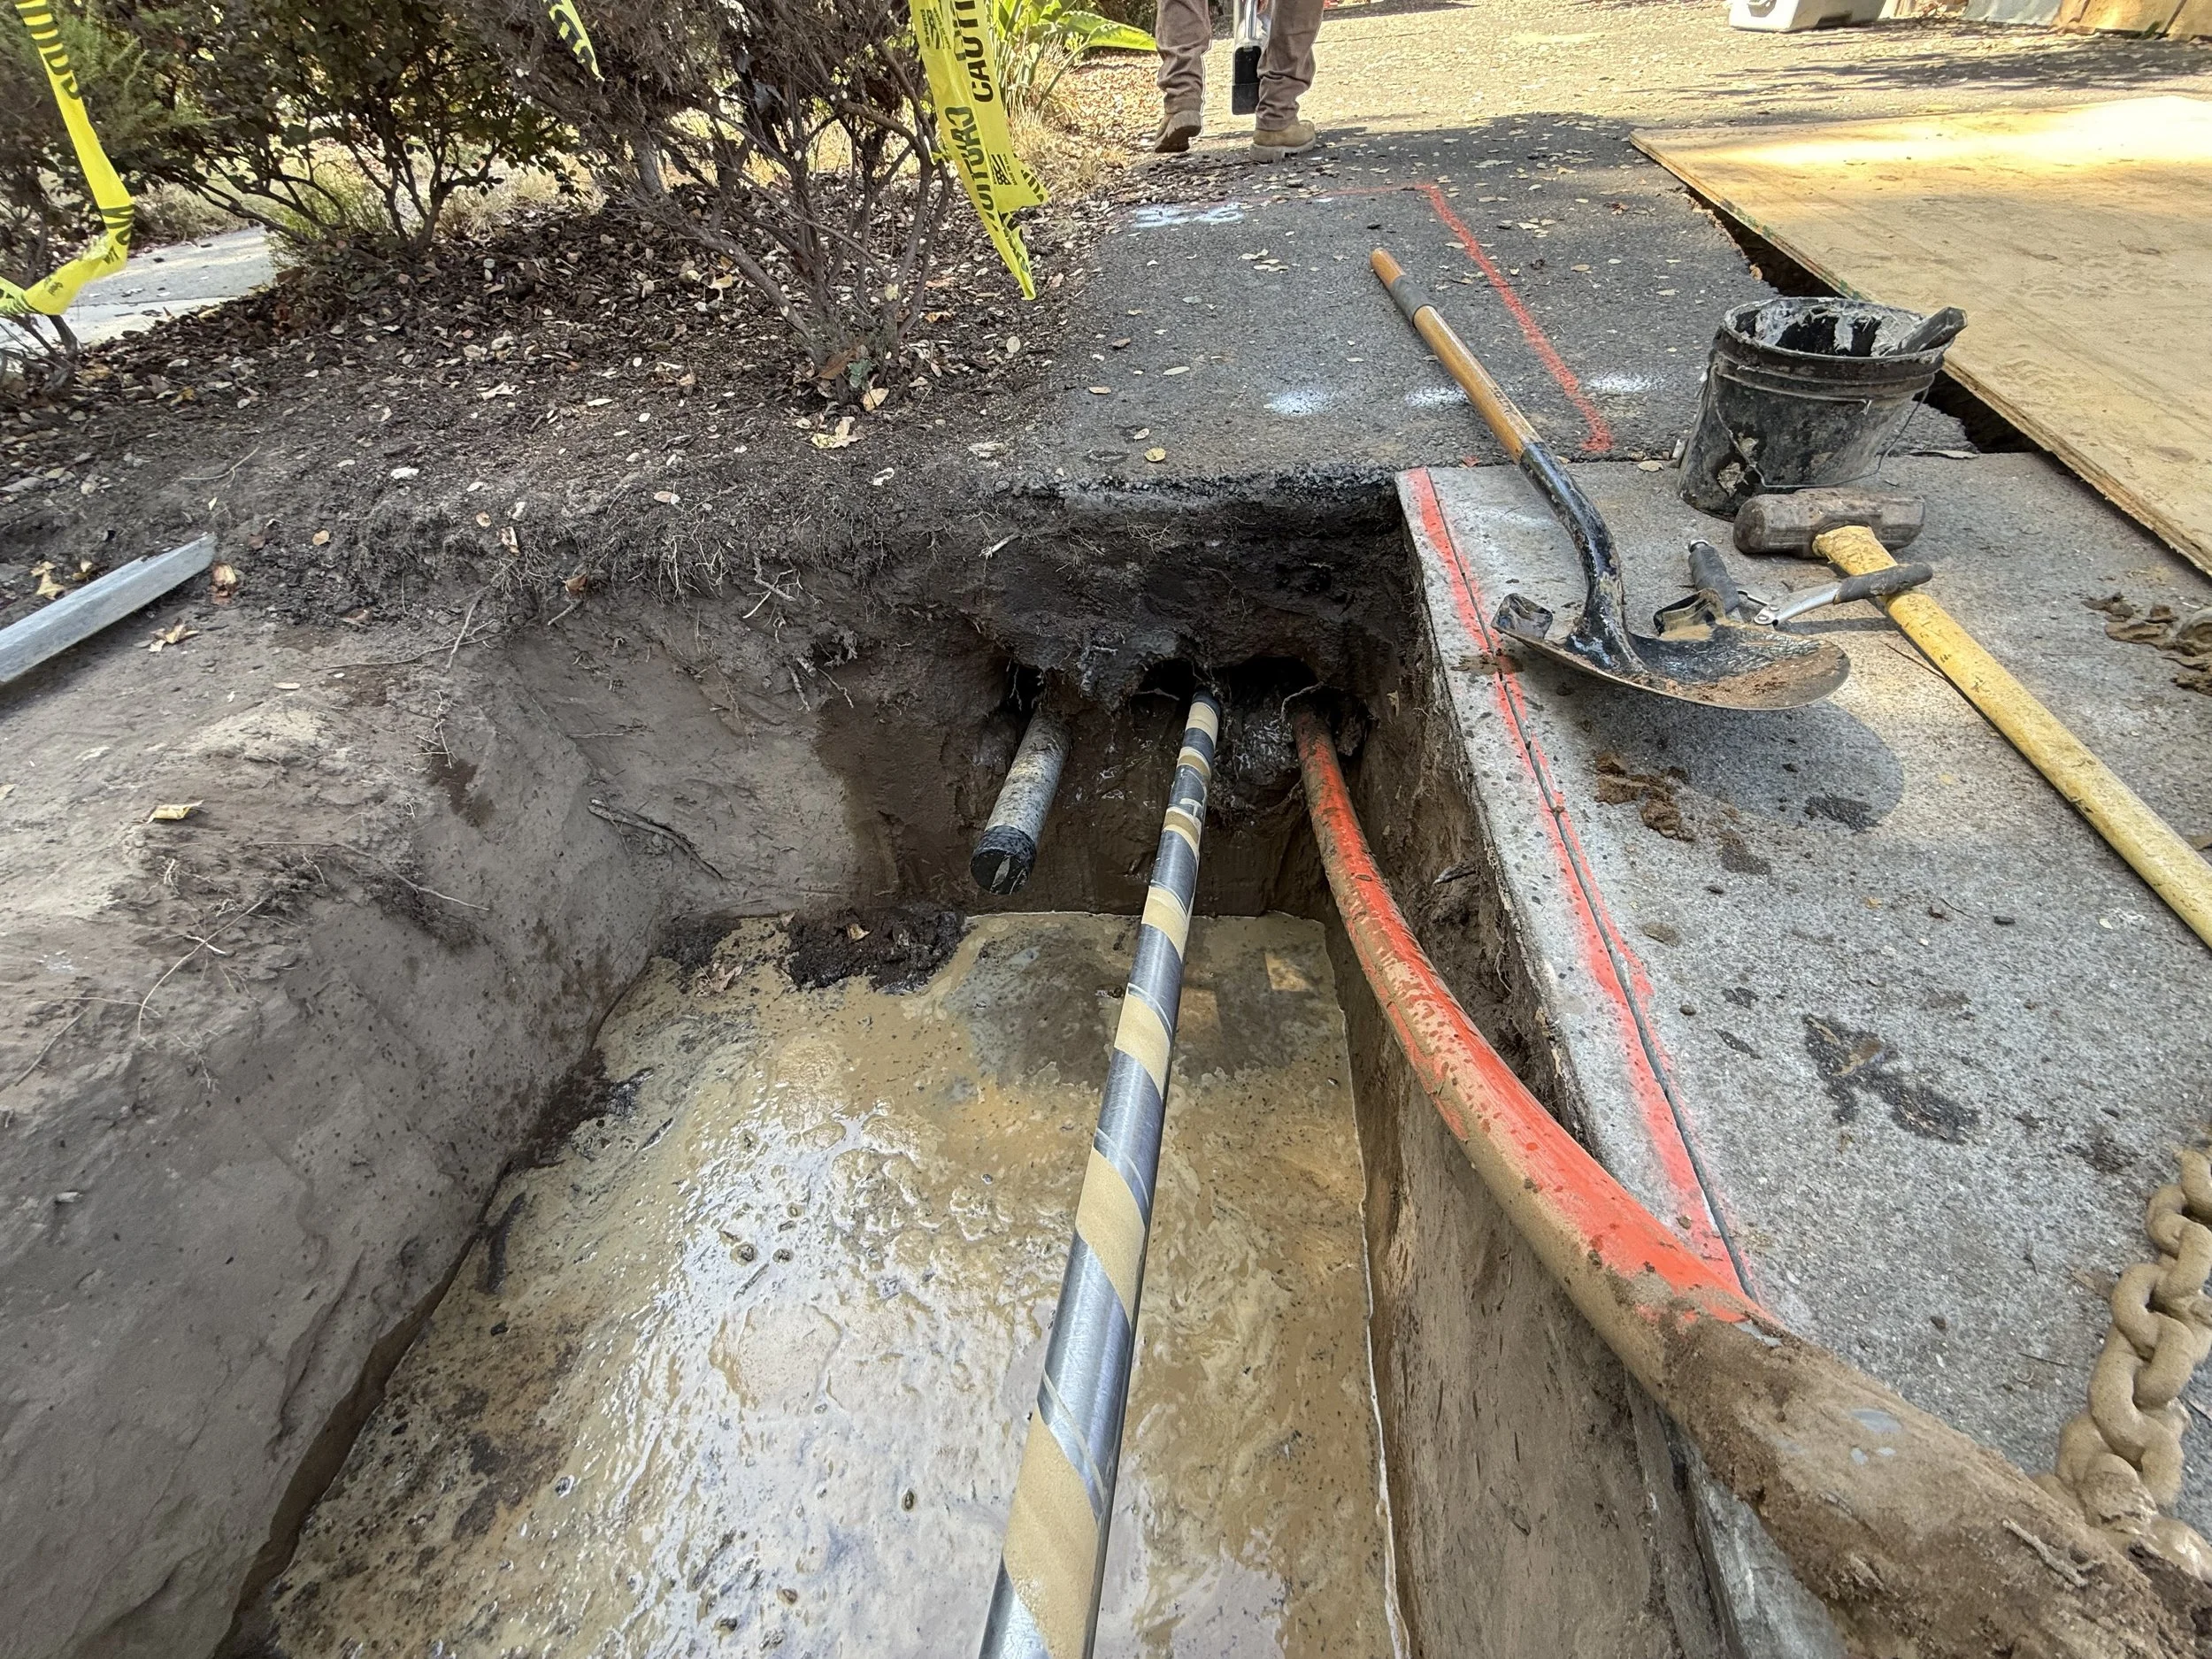
3 Bores in a tight envelope staggered vertically, and horizontally. 1-1 1/4”, 1- 3”, 1-2” each run approx 276ft
Directional boring (also called horizontal directional drilling, or HDD) is a safe and efficient method for installing underground utilities without open-cut trenching. Below is an overview of the typical steps involved, so you know what to expect on your project.
1. Locating Existing Utilities
Before any boring starts, we identify all underground utilities in the work zone. This includes calling in utility locates (e.g., USA 811) and reviewing as-built drawings. The goal is to know where gas, electric, sewer, water, and communication lines run so the bore path can avoid them.
2. Potholing to Daylight Utilities
When the planned bore path crosses existing utilities, we perform potholing (also called daylighting). This is done with a hydrovac or hand excavation to safely expose the utility line. By physically confirming its depth and alignment, we reduce the risk of accidental strikes.
3. Bore Path Planning
With utilities located and exposed, the bore path is planned. Spacing requirements ensure a safe separation between the new installation and existing lines. The path is designed for minimal disruption, proper depth, and efficient tie-in to the final connection points.
4. Bore Mix Design
Every soil condition requires the right drilling fluid mix. We design a bore mud mix (using water, bentonite, polymers, or additives) to lubricate the drill head, carry away cuttings, stabilize the bore hole, and minimize the chance of collapse or frac-outs.
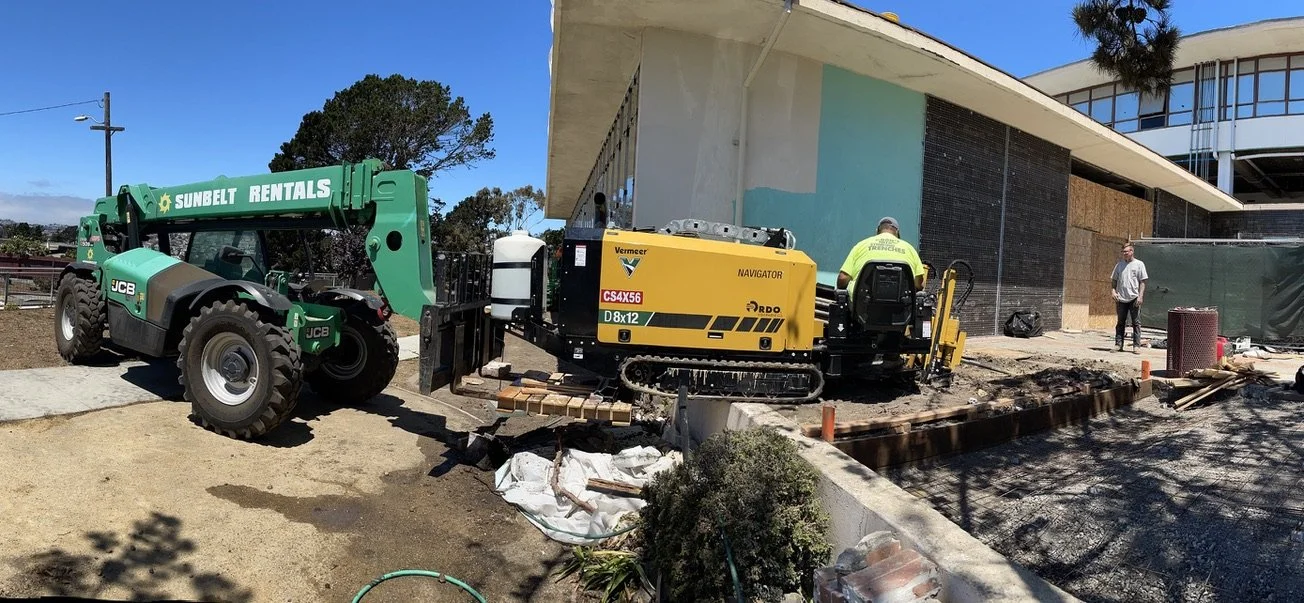
5. Pilot Drill
The directional drill makes a small-diameter pilot bore along the planned path, guided by a locating system. This step is critical to staying on line and grade. Continuous monitoring ensures accuracy.
6. Management of Cuttings
As the pilot bore and subsequent passes proceed, soil cuttings and drilling fluid are returned to the entry pit. We manage these cuttings by containing them on site, vacuuming them into hydrovac tanks, and arranging for proper off-haul and disposal.
7. Reaming
After the pilot hole is complete, the bore is enlarged to the required diameter by pulling back a reamer. This process may be repeated in stages, depending on the pipe size. Reaming ensures the bore path is wide enough for the final product pipe.
8. Pullback of the Utility Package
Once the bore is at the correct diameter, the pipe package (e.g., sewer, gas, communication, or electrical conduit) is attached to the reamer and pulled back through the bore path. Lubricating mud is circulated to reduce friction and protect the pipe.
9. Mud Management and Off-Haul
Throughout drilling, reaming, and pullback, drilling fluid is circulated to carry cuttings out of the bore. A vacuum system removes excess mud, which is then transported off-site to an approved disposal location. This ensures a clean, safe job site.
Summary
Each directional boring project follows these essential steps:
Utility locating
Potholing to daylight crossings
Bore path planning
Bore mix design
Drilling the pilot hole
Managing cuttings
Reaming to size
Pullback of utilities
Mud removal and disposal